Saturday 28 July 2012

Olympic fever

Now that the Olympics have got off to a flying start, I thought I'd join the fun and publish a couple of photos we have! 

We watched Danny Boyle's fabulous Opening Ceremony last night and were overwhelmed by it.  There was so much in it - fireworks, humour, music, film, dance, puppetry and we found ourselves moved and awestruck.  And having flashbacks to childhood when The Childcatcher arrived.  I don't have anything bad to say about it. 

How's that for a floral display?

Note the ship funnel through the buildings.  Slightly out of place?

Funnel belongs to this huge ship docked in Canary Wharf

It's German so could be where the German delegation are staying

All the boats crowded here for the Olympics.  None of the jetties are normally there

Us, supposrting Team GB with our wristbands!

Sunday 22 July 2012

Book Review - Pop Knitting

Pop Knitting: Bold Motifs Using Color & Stitch

Pop Knitting – Bold Motifs using Color and Stitch

Britt-Marie Christoffersson

ISBN 978-1-59668-782-0

RRP £17.99

 Published May 2012

Publisher: Interweave Press

Britt-Marie Christoffersson is a Swedish designer of 25+ years experience, and in this book she looks at how to create great texture and pattern with knitting stitches.   There are no patterns for garments in the book, just simply techniques and swatches.  There are pictures of finished garments to illustrate some of the techniques given, but these have a very basic description of how they were put together.


We launch pretty much straight into the patterns and there is a huge wealth of variety here.  For each type of stitch, ie The Colour Garter Stitch, there are 3-4 examples of how to vary, and then perhaps 6-8 more swatches of how colour variations and combinations with other stitches can create a new look.  There are 23 chapters on different stitches altogether, and considering that a lot of these will have between 4-12 variations means that no stone is unturned. 

Two colour garter stitch


Stitches are produced in all colourways (mostly vibrant colours, but there is some white and neutral colours added to the mix.  Interesting additions (such as those created by casting on and binding off to create loops) means that 3-dimensional effects can be created, and there is some combination of knitting and crochet stitches for even more variety.

Casting on and binding off within a row

Slipped stitches and Stockinette


Overall, there are over 200 photographs, with a couple of diagrams to illustrate some of the stitches.  Each pattern is laid out with easy to follow instructions and a full colour photograph.  The instructions are mostly short as once the stitch is mastered, you repeat to create your pattern. Only a few stitches require longer instruction.

Horizontal buttonhole


The seasoned knitter will gain much from this, and will be more likely to adopt the patterns within other garments, but for those less confident, the nature of the book as a tutorial for creating new stitches will be incredibly useful for picking and choosing new stitches to perfect.

I also have an addition to make to this review.  I showed it to my sister who is a big knitter and she commented that she found it very imaginative and absorbing.  She said that it isn't often that you hae a pattern book that makes you stop and ponder about a design, but this book does it frequently throughout the book.    She subsequently did swatches of several of the designs, and was particularly enamoured of the braiding patterns.  It was a big thumbs up from her.

Saturday 21 July 2012

Fabulous Felt Course

I recently did a Fabulous Felt course run by the Community Learning Partnership.  Our tutor was the lovely Paula Watkins (see the link to her blog below) and it was a wonderful course.

We launched straight into it on the first day where we started by making prefelt.  I have seen prefelt for sale before and didn't really know what it was, so this was a great opportunity to get to know about it.  You basically felt the wool fibres together very slightly, so it holds together but doesn't felt as such.  I made pieces of orange and green.

Lining up the wool fibres to make prefelt
finished prefelt


Then we put the 2 pieces together and felted them and then made them into a flower.  My leaves looked a little droopy to begin with, but as the felt continued, they shrank up a little and looked more leaf-like.  They are still a bit wispy but a bit of stitching will sort that out.


Next we made some felt sausages and made beads out of them.  After all the felting on the draining board and heavy duty pummelling, Paula took pity on me and rolled my felt a little bit to get me on the way to an acceptable sausage.  I really loved how the beads turned out!


We also did a panel.  Most people went for blue sky and grass, or sand, but I went for something reminiscent of Johnny Nice from the Fast Show.  Please see this link:

 You Tube Johnny Nice

Anyway, with all the blues and greens and fluffy clouds, I found purple and dark grey and us crawling towards our doom (watch the link).

But I like it anyway, as it suits the colours in our dining room.  And some very generous people glossed over the [BLACK] dark tones and admired it anyway.  Both the flower and the purple trees need some stitching, so I will put another photo in when I get the chance to do some stitching.  And more crochet as I have been very lax recently and wouldn't be surprised if I couldn't remember how to do a double crochet.


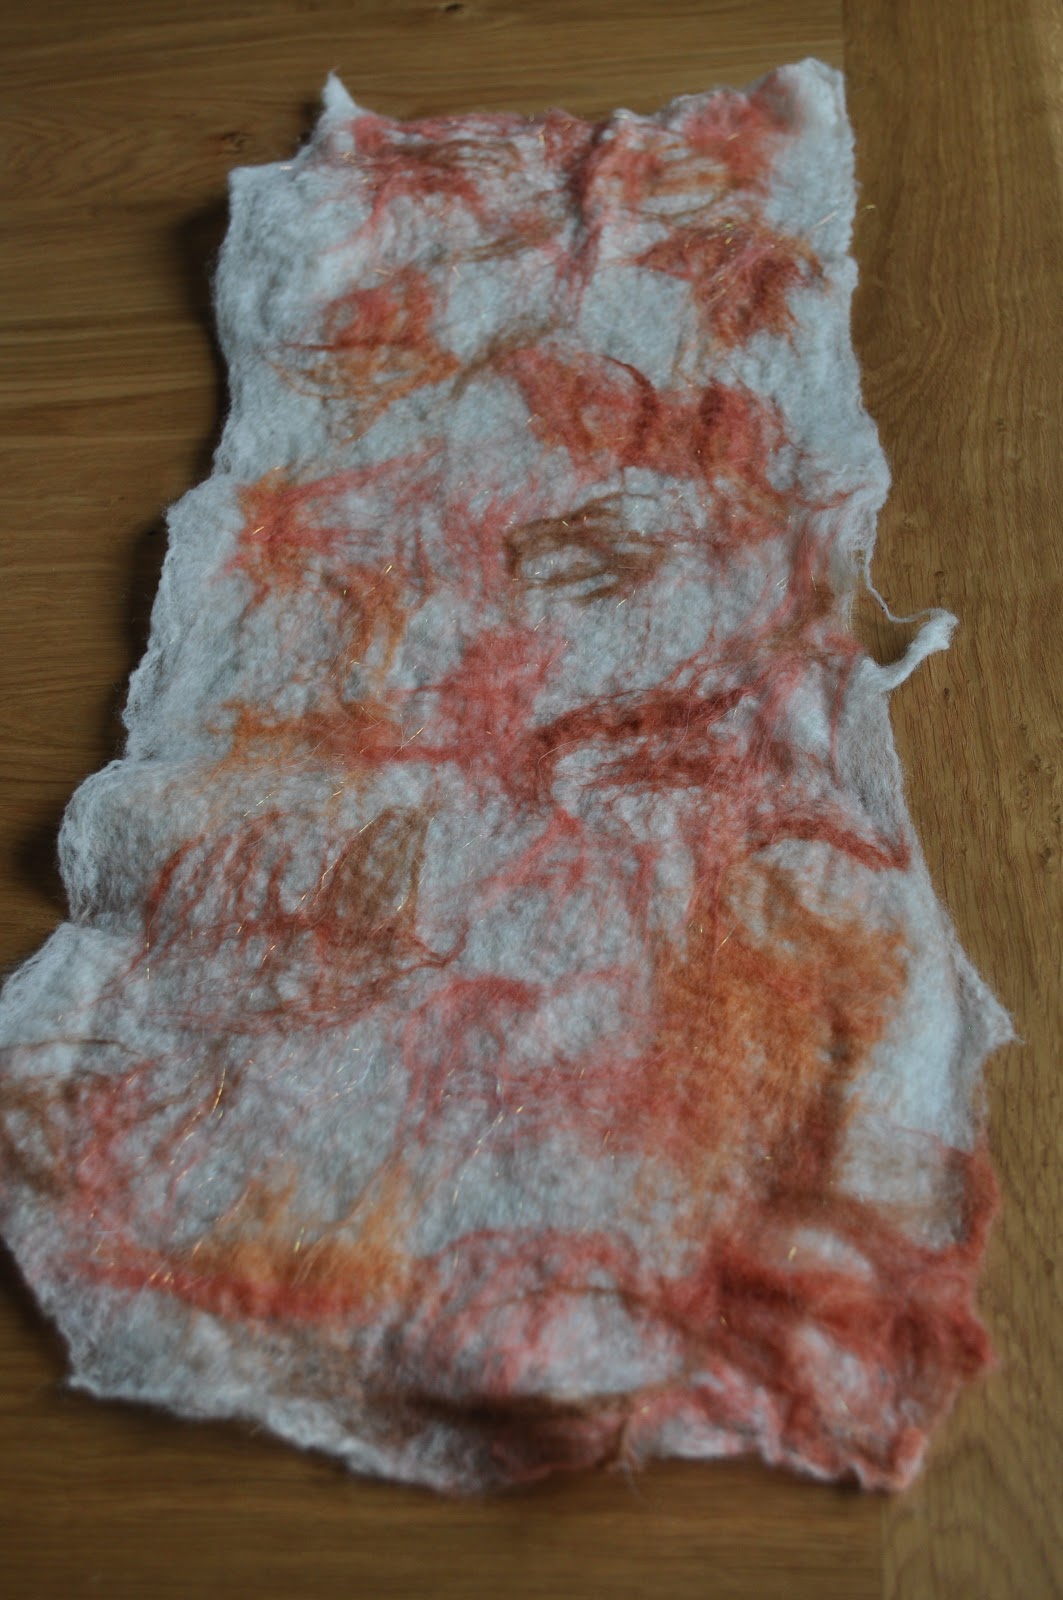
I then made a large panel, which was white and coral and salmon pink (trying to show an artistic diversity after all the BLACK). Again, I'm going to do something with that at a later date, and will post when I have the time.

We learnt needle-felting as well which was really enjoyable.  I have used the Clover Tool before, but was hooked with the single needle, as found it gave so much more potential for detail.  You could add wisps of wool to create a highlight and incredible detail.

Overall, a fantastic course, and I would definitely look at doing another with CLP and Paula!

Friday 13 July 2012

Book Reviews - new

I do book reviews for Workshop on the Web, and occasionally, there are too many to go into the magazine.  When this happens, I am going to put them into my blog, so that my reviews don't go to waste.  My first one is from Search Press, which was published in January, so has been out for a while, but is worth a look at if you are into dyeing.


A Handbook of Indigo Dyeing by Vivien Prideaux

Published by Search Press

Available from Search Press www.searchpress.com

Price £14.99

ISBN 978-1-84448-767-7

This book is a very comprehensive guide to all the different types of Indigo Dyeing that can be done.  From reading the book, you quickly understand that it is not something that you could undertake in an afternoon with pots and pans lying around in the cupboard; in fact, the most effective method that Vivien Prideaux has found involves a big plastic container and 20 litres of water.  There is also a fair amount of serious chemical involvement, and plenty of protective clothing.  It struck me that you would need to be fairly committed to undertaking this type of dyeing and be willing to use the right equipment even before you get started.

Having said that, the book itself is a very full and informative guide.  The history of the process, the different fibres and indigo dyes are all explained fully, and it is a very easy read.  The instructions for dyeing (there are 3 different dye VATS to choose from) are set out with lots of photographs and instructions of how to prepare your fabric, and there are plenty of wonderful pictures of finished cloth, which would even tempt me despite knowing how much work it is to get there.  There are even a couple of projects (ie cushion, tea cosy, scarf) to get you using your new collection of fabulous fabric.  I think it would be a suitable book for those who are familiar (or have dabbled with) the process before and want to move to the next level.


On My Travels

My daughter's teacher is leaving school to go and travel around the English Coastal regions, so I have been working hard to make her a book from the class.  I have once again used my trusty Sizzix to cut out some text with the Wordplay die.  I used the front cover, which says 'Places I've Been' in a review I did for the Wordplay die (forthcoming on Workshop on the Web) so here I am printing a picture of the back cover.


The background fabric was a collage done on Picasa and was machine stitched down and edged with a zig-zag stitch.  I used the same fabric to create a tag bookmark with 'I am here' in white embossing powder.


Inside, I stuck messages from the children in, so that when she is (hopefully) recording her travels, she will come across a few surprises on the way.

Machine Quilting (in my pyjamas)

Oh dear, I noticed how long it was since I last posted something.  The past month has been so busy that I have hardly had time to think, never mind sit down and compose.

I have been making a quilt/wall hanging for a friend's birthday recently. It's her birthday today, and I held off posting anything earlier in case she had a sneak preview.

It started when I was spending time on Pinterest (just 5 minutes, honestly), and I saw a print which said "Oh dear. I really should do something but I am already in my pajamas". I think it's a quote from Futurama, but it made me laugh. However, the spelling of pyjamas was not the English spelling, (is it the American spelling?), so I thought I'd make my own. I changed the wording slightly, but the gist is still the same. Basically, we both love not having to get up for work/school and time off in the holidays is usually spent conferring about how late we are getting dressed in the morning. It's a well-kept secret I think as the more people I speak to, the more widespread this guilty vice appears to be.

I used my Wordplay Sizzix die to cut out the words and bonded to some plain stone-coloured fabric I bought from Lovely and Lovely. I pieced a border (I have never done traditional pieced quilting so this is as far as I get) and then set about machine quilting it.

I tend to have a ad hoc approach to free machining usually, but I have recently resolved to have more method and create pattern. A couple of things have influenced this. I recently reviewed a book by Angela Walters called Free Motion Quilting and I found it really useful.

She takes you through lots of different styles of machining and there are diagrams showing you how to 'draw' them. What I then did was use the advice given in the book and practice doodling patterns electronically before attempting them on fabric.  I found it helped a lot - you get into a rhythm of working and the pattern flows easier.


I also have done a felt course (more about that later) and it made me look up some pictures I had taken from The Festival of Quilts in 2008 of the work of Jacqueline Heinz. Her work combines felt and wool tops on large pieces of cloth with exquisite stitching. Luckily, I had a few close-ups and could see the kind of effect really neat stitching can have. It was with Jacqueline Heinz in mind that I resolved to do this wall-hanging with neat and tidy stitching.

Jacqueline Heinz.  I bow at the altar of perfect machining

Jacqueline Heinz

It took me quite a while, but I think I did a good job.  This is the finished piece:

Finished quilt

All the lettering was hand-stitched around the outline

Close up of machine stitching

Machining from the back.  Note that I cut away all my loose threads as my [late] New Years Resolution is to be fastidious in my work.

Next up will be a book I have been making for my daughter's teacher's leaving present.  And the felt course I was on with my very good friend Paula Watkins.  Her blog has a link from here, and there are more photos from this course.